Managing members
Last updated 16 July 2026
Managing members
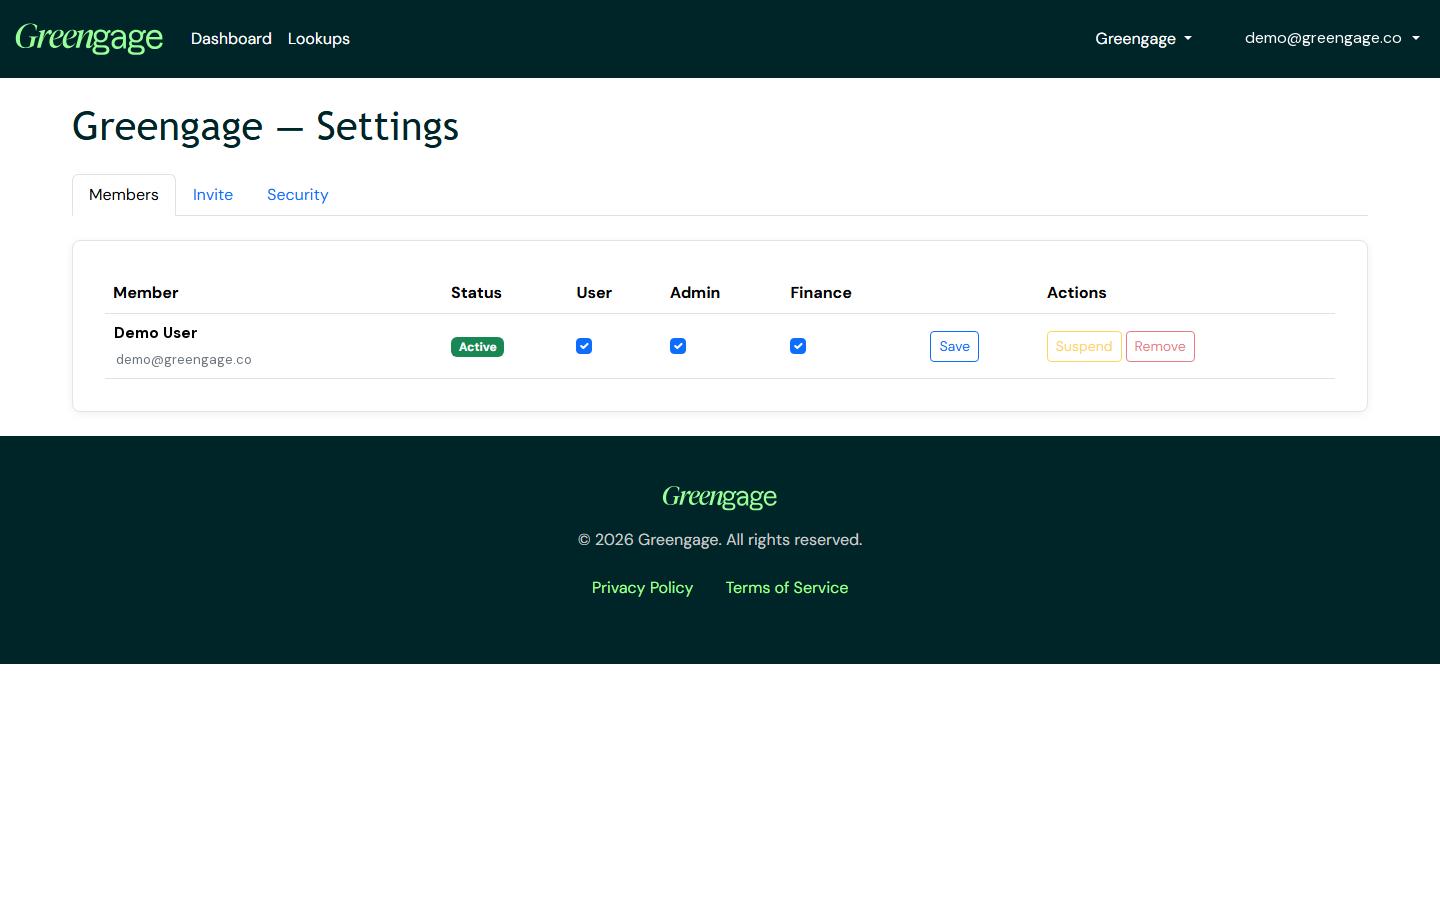
Company workspace admins manage who belongs to the workspace from the Members, Invite, and Security tabs on the workspace's Settings page.
Inviting a member
On the Invite tab, enter an Email Address, tick the Roles you want them to start with (User, Admin, Finance — User is ticked by default), then select Invite Member. If that email already has a Greengage account, they're added to the workspace immediately; otherwise, share the invite link that's shown with them so they can register.
Updating roles
On the Members tab, tick or clear the User, Admin, and Finance checkboxes for a member and select Save. See Member roles for what each one does.
Suspending and reactivating
Select Suspend to block a member's access without deleting them — they can be brought back with Re-enable at any time. See Suspending and removing members.
Resetting a member's password
Open the Reset password menu next to a member and choose Send reset link to email them a reset link, or Generate temporary password to create a temporary password shown once on screen — share it with the member securely, as it won't be shown again.
Removing a member
Select Remove to take a member out of the workspace.
Protections
You can't suspend or remove yourself. The workspace must always keep at least one admin, so while someone is the sole active admin, their Admin checkbox, Suspend, and Remove are all blocked — make another member an admin first.
Personal workspaces have no members screen at all — this is company-only, since a personal workspace only ever has one owner.