Configuring risk bands
Last updated 16 July 2026
Configuring risk bands
Risk bands define how a raw risk score from 0 to 100 maps to a labelled, colour-coded band — the same bands you see on lookup history chips and on every risk report. Open Risk Bands to configure them for your workspace.
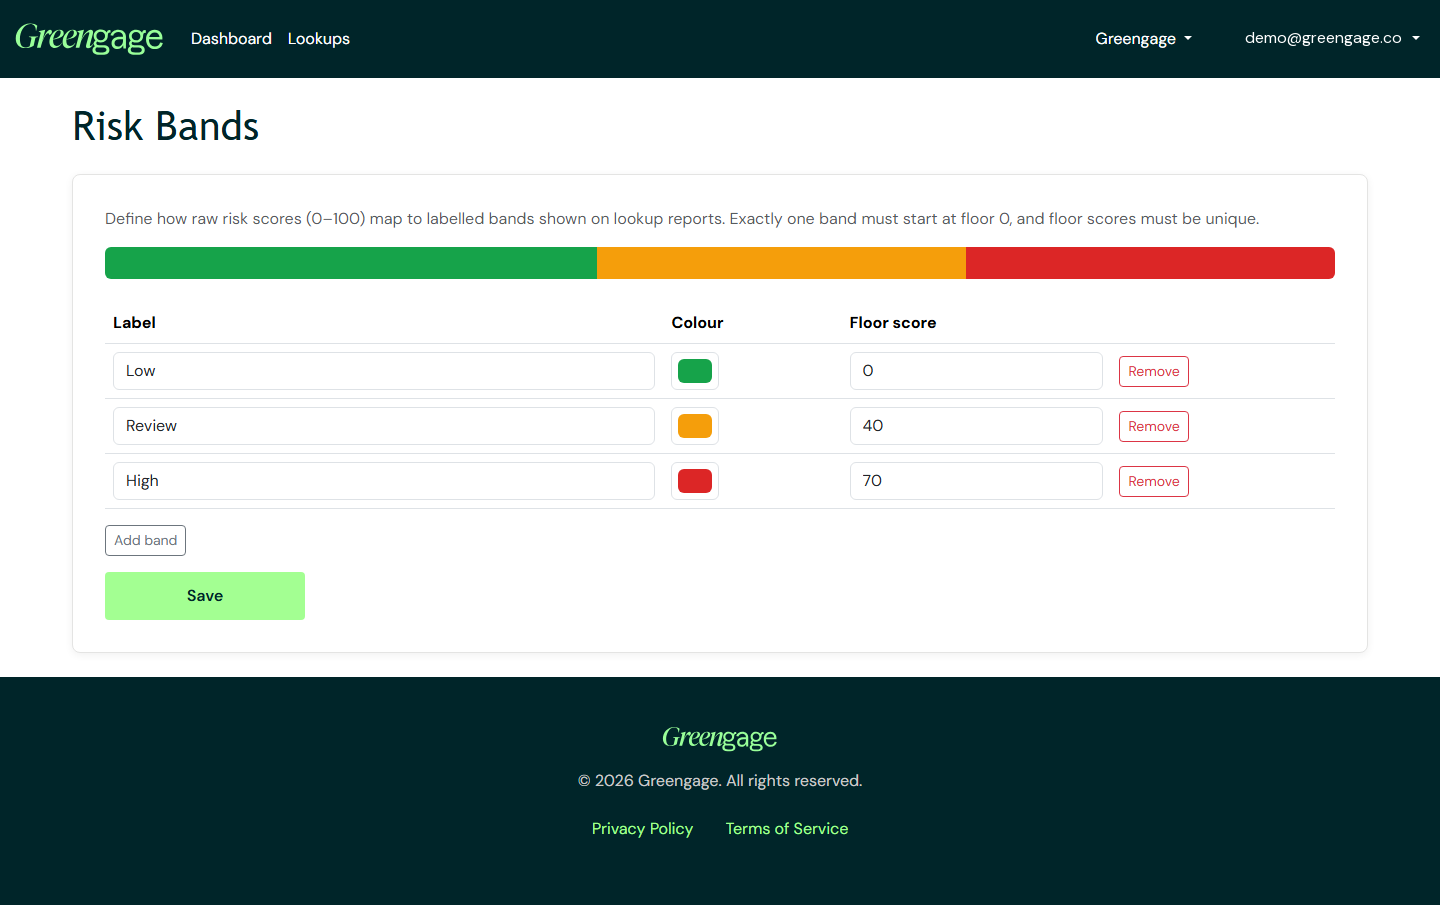
Editing the table
Each row has a Label, a Colour, and a Floor score — the lowest score that falls into that band. Select Add band to add a new row, or Remove to delete one, then select Save to apply your changes.
The rules
- Exactly one band must start at a floor score of 0 — there's always a band that catches every score, right down to zero.
- Floor scores must be unique — no two bands can share the same floor score.
Live preview
As you edit labels, colours, and floor scores, the bar above the table redraws itself to show how the 0–100 range is currently split between your bands — a quick way to check your changes before you save. See How scores map to bands for how a score picks its band.
Risk bands can be configured by Admins of a company workspace, and also by a personal workspace owner — this is the one settings-like screen personal workspaces do have, since bands still apply to every lookup you run there.